
Turn your chaotic kitchen into a clean, efficient space with practical organization strategies. From decluttering to smart storage solutions, this guide helps you create a kitchen that’s both beautiful and functional—no matter your budget or skill level.
Key Takeaways
- Start with a full declutter: Remove expired items, broken tools, and duplicates to create space and clarity.
- Use vertical space wisely: Install shelves, hooks, or pegboards to free up counter and cabinet space.
- Group items by function: Store similar items together (e.g., baking tools, spices, utensils) for faster access.
- Invest in clear containers: Transparent bins and jars make it easy to see what you have and reduce food waste.
- Label everything: Labels prevent confusion and help maintain order over time.
- Maintain daily habits: A 5-minute nightly reset keeps your kitchen clean and organized long-term.
- Customize to your lifestyle: Organize based on how you actually cook, not how you think you should.
Quick Answers to Common Questions
How often should I reorganize my kitchen?
You don’t need to reorganize often—just maintain it. Do a full declutter and reorganization once or twice a year, and a quick monthly check-in to stay on track.
What’s the best way to store spices?
Store spices in a cool, dark place—away from heat and light. Use clear, labeled jars and group them by type (e.g., herbs, spices, seasoning blends) for easy access.
Should I keep appliances on the counter?
Only keep appliances you use daily (like a coffee maker or toaster). Store others in cabinets to free up counter space and reduce visual clutter.
How can I organize a small pantry?
Use shelf risers, clear bins, and door organizers. Group items by category and label everything. Keep frequently used items at eye level.
What’s the easiest way to maintain kitchen organization?
Adopt a nightly 5-minute reset: wipe counters, load the dishwasher, and put things back where they belong. Consistency is key.
📑 Table of Contents
- Introduction: Why a Clean Kitchen Matters
- Step 1: Declutter Like a Pro
- Step 2: Design a Smart Layout
- Step 3: Maximize Storage with Clever Solutions
- Step 4: Organize the Pantry and Fridge
- Step 5: Maintain Your Organized Kitchen
- Bonus Tips for Small Kitchens
- Conclusion: Enjoy Your Clean, Functional Kitchen
Introduction: Why a Clean Kitchen Matters
Let’s be honest—your kitchen is the heart of your home. It’s where meals are made, memories are shared, and mornings begin with that first cup of coffee. But when it’s cluttered, disorganized, and hard to navigate, even the simplest tasks can feel overwhelming. Pots are buried under lids, spices are lost in the back of a cabinet, and your countertops look more like a storage unit than a cooking space. Sound familiar?
You’re not alone. Most of us struggle with kitchen chaos at some point. The good news? A clean, organized kitchen isn’t just a dream—it’s totally achievable. With the right mindset and a few smart strategies, you can transform your kitchen from a source of stress into a place of calm and efficiency. This ultimate kitchen organization guide walks you through every step, from decluttering to maintaining your newly organized space. Whether you’re working with a tiny apartment kitchen or a spacious culinary haven, these tips are designed to help you create a functional, beautiful environment that supports your lifestyle.
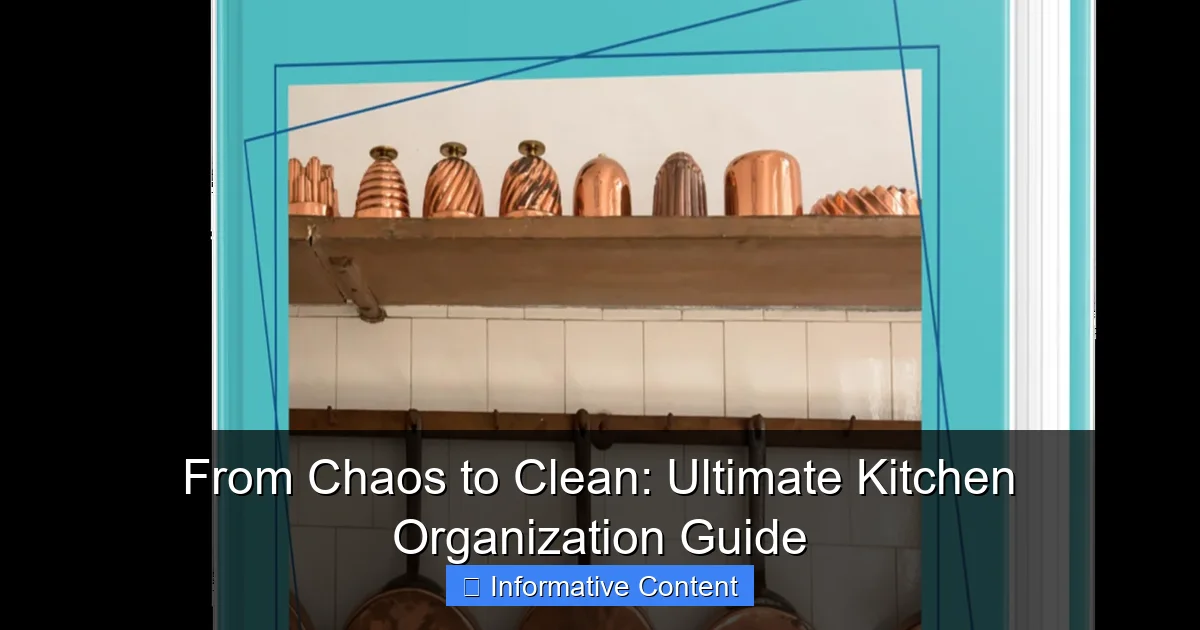
Step 1: Declutter Like a Pro
Visual guide about From Chaos to Clean: Ultimate Kitchen Organization Guide
Image source: tinykitchenchronicles.com
Before you can organize, you need to declutter. Think of this as the foundation of your entire kitchen makeover. Without clearing out the excess, you’re just rearranging clutter—not solving the problem. Start by taking everything out of your cabinets, drawers, and pantry. Yes, everything. It might seem daunting, but this step is essential for seeing what you actually have.
Sort into Four Categories
Create four piles: Keep, Donate/Sell, Trash, and Relocate. Be honest with yourself. Do you really need three vegetable peelers? Has that blender been used in the last year? If not, it’s time to let it go. Expired spices, chipped mugs, and duplicate gadgets are common culprits of kitchen clutter. For example, if you have two can openers and only use one, donate the extra. If a spice jar is past its prime (most lose flavor after 6–12 months), toss it.
Ask the Right Questions
Use these questions to guide your decisions:
– Have I used this in the past six months?
– Does it work properly?
– Do I have duplicates?
– Does it serve a purpose or bring me joy?
If the answer is “no” to any of these, it’s probably time to part ways. Remember, less stuff means less to clean, less to organize, and more space to breathe.
Handle Sentimental Items with Care
We all have that one mug from a vacation or a hand-me-down casserole dish. If it’s truly meaningful, keep it—but limit yourself to a few special items. Store them together in a designated “memory” box or shelf so they don’t get lost in the everyday clutter.
Step 2: Design a Smart Layout
Once your kitchen is decluttered, it’s time to think about layout. A well-organized kitchen follows the “work triangle” principle: the sink, stove, and refrigerator should form a triangle for efficient movement. But even if you can’t change your appliances, you can organize your storage to support this flow.
Zone Your Kitchen by Function
Divide your kitchen into zones based on how you use it:
– **Cooking Zone:** Near the stove—store pots, pans, oils, and frequently used utensils.
– **Prep Zone:** Near the counter—keep cutting boards, knives, mixing bowls, and measuring tools here.
– **Baking Zone:** Store baking sheets, measuring cups, and ingredients like flour and sugar together.
– **Coffee/Tea Station:** Group your kettle, mugs, coffee maker, and supplies in one spot.
– **Pantry Zone:** Keep dry goods, canned items, and snacks organized and visible.
Prioritize Accessibility
Store everyday items at eye level and within easy reach. Heavy pots and pans belong on lower shelves or in deep drawers. Lightweight items like mugs and plates can go higher up. Reserve the hardest-to-reach spots for seasonal or rarely used items, like holiday platters or specialty appliances.
Use Drawer Dividers and Cabinet Organizers
Invest in drawer dividers for utensils, cutlery, and junk drawers. Bamboo or plastic organizers keep things neat and prevent spoons from getting tangled with spatulas. For cabinets, use shelf risers to double your storage space—perfect for stacking plates or bowls.
Step 3: Maximize Storage with Clever Solutions
Now that your zones are set, it’s time to get creative with storage. The goal is to use every inch wisely—without making your kitchen feel cramped.
Go Vertical
Wall space is prime real estate. Install floating shelves for cookbooks, spices, or decorative jars. Use adhesive hooks or a pegboard to hang pots, pans, and utensils. This not only frees up cabinet space but also adds a stylish, functional touch. For example, a pegboard above the sink can hold dish brushes, sponges, and even small plants.
Utilize the Inside of Doors
Cabinet doors are often overlooked. Add over-the-door organizers for spices, cleaning supplies, or snack bags. Magnetic strips inside cabinet doors can hold knives or metal spice tins. Even the back of a pantry door can hold a rack for foil, plastic wrap, or measuring tapes.
Try Pull-Out and Lazy Susan Solutions
Deep cabinets are a storage nightmare. Install pull-out shelves or lazy Susans to make everything visible and reachable. These are especially helpful for corner cabinets, where items tend to disappear. A pull-out trash and recycling bin system keeps waste out of sight but easy to access.
Upgrade to Clear Containers
Transfer dry goods like pasta, rice, flour, and sugar into clear, airtight containers. Not only do they look sleek and uniform, but you can easily see what you have—and what’s running low. Label each container with the contents and expiration date. This simple step reduces food waste and makes cooking faster.
Use Baskets and Bins
Group similar items in labeled baskets or bins. For example, keep all baking supplies in one bin, snacks in another, and cleaning products in a third. Use drawer bins for organizing small items like tea bags, coffee pods, or seasoning packets.
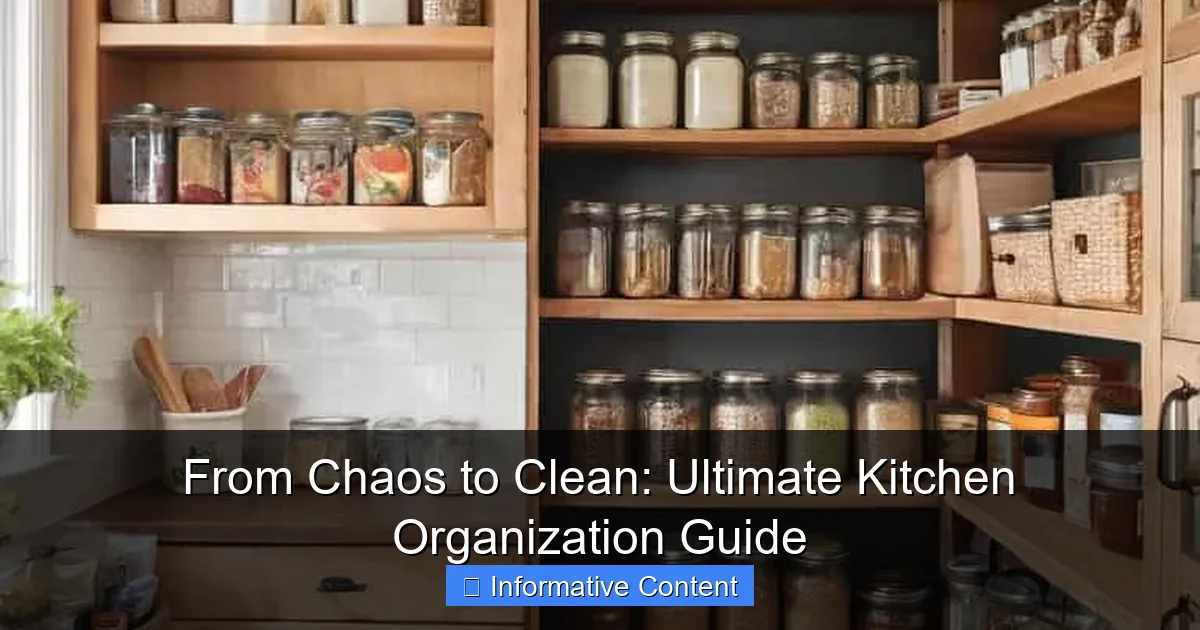
Step 4: Organize the Pantry and Fridge
Your pantry and refrigerator are often the most chaotic areas—but they don’t have to be. With a few smart tweaks, you can turn them into models of efficiency.
Pantry Perfection
Start by emptying the pantry and wiping down shelves. Group items by category: grains, canned goods, snacks, baking supplies, etc. Use clear bins or baskets to corral similar items. Place frequently used items at eye level and heavier items on lower shelves. For example, keep breakfast items like cereal and oatmeal together, and store baking essentials like vanilla extract and chocolate chips in a labeled bin.
Fridge Makeover
Remove everything from the fridge and toss expired items. Wipe down shelves and drawers. Use clear bins to group items: one for dairy, one for produce, one for leftovers. Store raw meats on the bottom shelf to prevent cross-contamination. Keep condiments in the door, where they’re easy to grab. Use a lazy Susan for dressings and sauces to avoid the “back-of-the-fridge” mystery jar.
Freezer Organization
Label and date everything before freezing. Use freezer-safe bins or bags to group meals, meats, and frozen veggies. A “first in, first out” system ensures older items get used first. Consider a dedicated bin for ice packs or frozen desserts to keep them from getting lost.
Step 5: Maintain Your Organized Kitchen
An organized kitchen isn’t a one-time project—it’s a lifestyle. The key to long-term success is building habits that keep clutter at bay.
Do a 5-Minute Nightly Reset
Before bed, spend five minutes tidying up:
– Wipe down counters
– Load the dishwasher
– Put away any stray items
– Check the fridge for leftovers that need to be eaten or tossed
This small habit prevents messes from piling up and makes mornings smoother.
Schedule Monthly Check-Ins
Once a month, do a quick kitchen audit. Check expiration dates, reorganize as needed, and declutter any new clutter. This prevents small messes from becoming big problems.
Adopt the “One In, One Out” Rule
For every new item you bring into the kitchen, remove an old one. This keeps your collection manageable and prevents accumulation. For example, if you buy a new set of measuring cups, donate the old ones.
Involve the Whole Family
Teach everyone in the household how to maintain the system. Assign simple tasks like putting dishes away or wiping counters after use. When everyone pitches in, the kitchen stays cleaner longer.
Bonus Tips for Small Kitchens
Living in a small space? Don’t worry—organization is even more important when every inch counts.
Use Multi-Functional Furniture
Choose furniture that does double duty. A kitchen island with built-in storage, a fold-down table, or a cart with shelves can add space without taking up room.
Opt for Slim, Stackable Items
Choose slim spice jars, stackable containers, and nesting bowls to save space. Avoid bulky gadgets that serve only one purpose.
Hang Everything Possible
Use wall-mounted racks for cutting boards, pot lids, or even wine glasses. A magnetic knife strip keeps blades sharp and accessible.
Think Outside the Kitchen
Store rarely used items elsewhere—like holiday dishes in a bedroom closet or extra pantry items in a hallway cabinet. Just make sure they’re labeled and easy to retrieve.
Conclusion: Enjoy Your Clean, Functional Kitchen
Transforming your kitchen from chaos to clean isn’t about perfection—it’s about progress. It’s about creating a space that works for you, not against you. By decluttering, zoning, and using smart storage solutions, you’ve built a kitchen that’s not only organized but also a joy to use.
Remember, organization is personal. What works for your neighbor might not work for you. The best system is the one you’ll actually stick to. So customize these tips to fit your cooking style, family size, and space. And don’t forget to celebrate your wins—whether it’s finding your favorite spatula in seconds or finally having a clear countertop.
A clean kitchen isn’t just about looks. It’s about saving time, reducing stress, and making cooking a pleasure again. So take a deep breath, grab a trash bag, and start today. Your future self—and your taste buds—will thank you.
Frequently Asked Questions
How do I start organizing my kitchen if it’s extremely cluttered?
Start small. Pick one drawer or cabinet to tackle first. Declutter, clean, and organize it completely before moving on. This builds momentum and prevents overwhelm.
Are expensive organizers necessary for a clean kitchen?
No. Many effective solutions are budget-friendly, like using mason jars for storage or repurposing shoeboxes as drawer dividers. Focus on function over fancy.
What should I do with duplicate kitchen tools?
If you have duplicates you don’t use, donate or sell them. Keep only what you need. For example, one can opener is usually enough for most households.
How can I keep my fridge organized long-term?
Use clear bins to group similar items, label shelves, and do a weekly check for expired food. A “first in, first out” system helps reduce waste.
Is it okay to store food in original packaging?
It’s better to transfer dry goods to airtight containers. Original packaging can tear, leak, or attract pests. Clear containers also help you see what you have.
How do I organize a kitchen with kids?
Create kid-friendly zones with low shelves for snacks and easy-to-reach utensils. Use bins and labels so they can help put things back. Keep dangerous items locked away.